Mycelium 2024
MMMF at home Grow Kit Instruction Guide
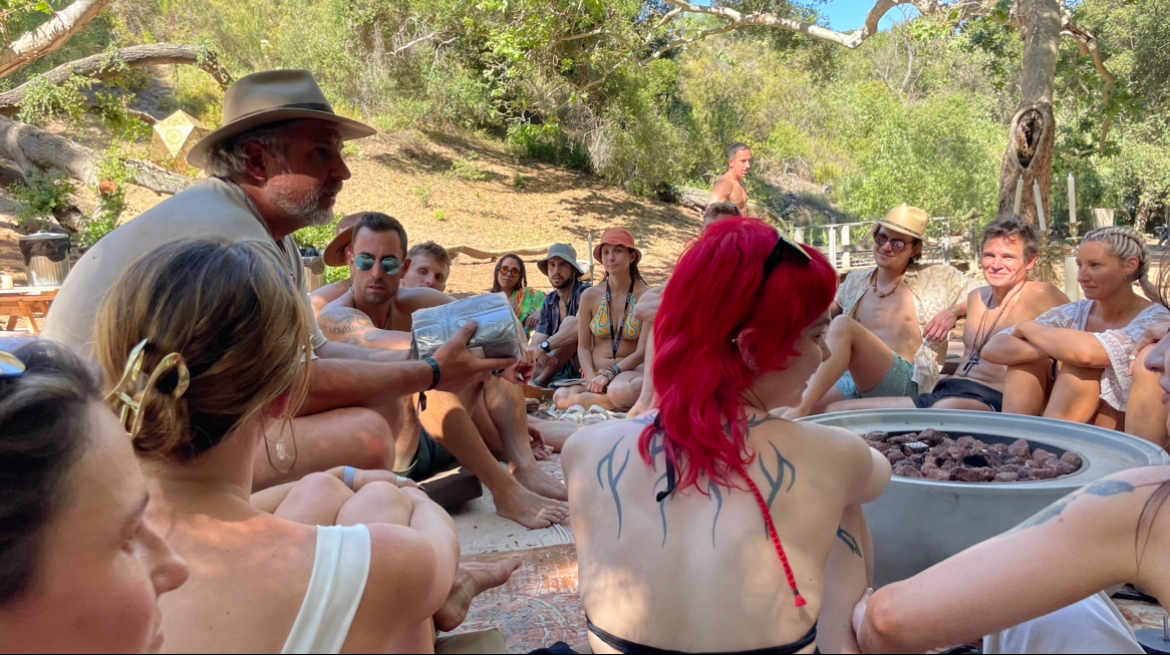
Thank you for participating in the Mushroom Masterclass activation at Mycelium 2024. Having the opportunity to share how to grow mushrooms and make your own medicine with so many curious and excited mycophiles was a heartwarming and joyful experience. Below are detailed guides that will walk you through the entire process of growing amazing mushrooms at home using the all-in-one 5-pound substrate bag that each of you inoculated and the final steps to make your own medicine from the alcohol extract process you learned. If you missed the class but are curious and want to try cultivating at home with one of our at home All-in-One Grow Kits, you can purchase one  here. (DM me directly on WhatsApp for a 40% discount).
Instructions:
Step 1: Prepare Your Workspace
Maintain a clean workspace to minimize contaminants. Use clean hands or gloves throughout the process to ensure a healthy growing environment. Spray the air around you with lysol or disinfectant.
Step 2: Sterilize Equipment
Wipe the syringe with a cloth soaked in isopropyl alcohol (70% or higher) to ensure it is sterile. This step helps prevent contamination and promotes successful mycelium growth. It’s also preferred to heat the tip of the syringe with a lighter torch, but it's not absolutely necessary. Also wipe the injection port on the underside of the grow bag.
Step 3: Inoculation
Locate the injection port on the underside of the all-in-one bag and use the sterilized syringe to inject the mushroom spores or liquid culture into the grain spawn. Try to spread the liquid culture around the grain mix as much as possible to help with the colonization of the mycelium. Make sure the filter on the top part of the bag is folded face down.
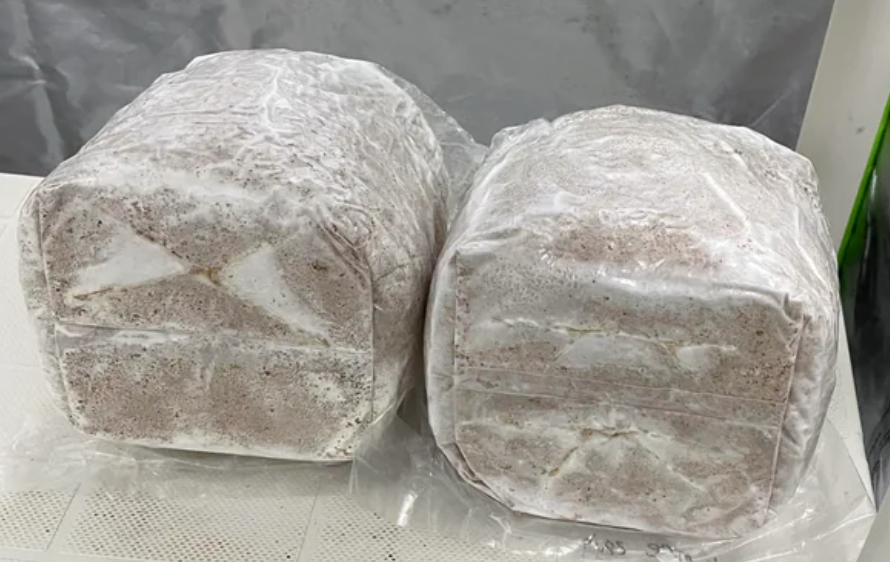
Step 4: Incubation: Spawn to Fruiting Block
Place the substrate bag in a warm, dark area for the incubation period specified in your mushroom strain's instructions. Regularly check the bottom layer of the grow bag for signs of colonization of the grain spawn. Once the grain spawn is fully colonized with mycelium (white), you will then need to fully mix and disperse the grain spawn with the substrate mix in the upper part of the bag.(this initial step of colonizing the grain spawn should take around 7-8days. remember, the warmer the better)
Step 5: Monitor and Promote Air Flow
While a fan may not be necessary during this stage, ensure there is adequate ventilation in the room to maintain fresh air exchange, promoting
healthy mycelium development. As the block begins to fully colonize, you can unfold the upper part of the bag so oxygen can begin filling the bag through the filter. Once the grow bag has become entirely colonized by mycelium (fully white) your substrate has developed into a fruiting block and is ready to fruit. (This process should take another 7-9 days after completing step 5 for a total of 14-17 days)
Step 6: Initiate Fruiting Conditions
When the growing conditions are right, the mycelium in your fruiting block will be triggered to start forming fruiting bodies. Environmental cues like light, humidity, and temperature all play a role in signaling to the mycelium that it's time to fruit. Unlike incubation with warm temperatures and the dark, in this stage, mushrooms need a period of cooler temperatures or increased light exposure to initiate fruiting(the fruiting stage should take about a week).
You have two options:
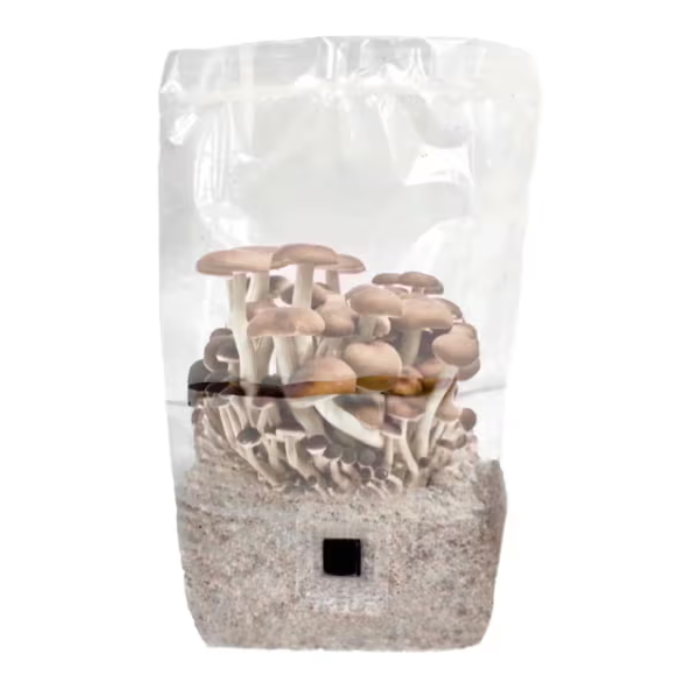
Option 1: Grow in the bag (easy)
Stand the bag straight up. If it's not already filled with oxygen naturally, you can help move oxygen into the bag by grabbing the sides and fanning it (pulling it in and out) to promote air flow through the filter. Move the mushrooms to a cooler part of your home with exposure to periods of light and adequate ventilation and air flow.
Your mushrooms will grow inside the bag which serves as a micro climate and will begin pinning on the fruiting block. Pinning is the primordial stage of fruiting. Once this occurs your mushrooms should fully fruit over the next 3-5 days.

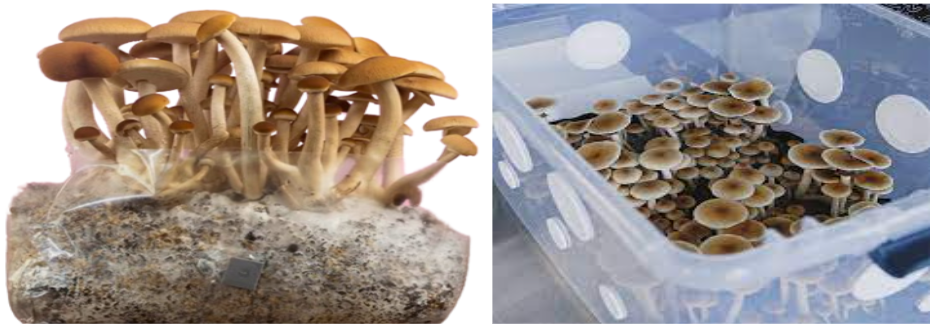
Option 2: Grow inside a chamber/monotub
Using a monotub (you can make one easily by purchasing a $7
Step 7: Maintain Optimal Conditions
Monitor temperature and humidity levels consistently during the fruiting stage. Ideally you want the mushrooms to grow in a temperature range between 65-72 while remaining 99% humidity. (For best results, refer to each mushroom strain’s temperature and relative humidity requirements)
Step 8: Harvesting
As the fruiting bodies grow out of the blocks, you will begin to see the mushroom caps fully open, you will want to harvest them right before the veil breaks. When the cap of the mushroom expands, it stretches the veil which is the skin layer underneath the cap. Harvesting at this time ensures the mushrooms are at their peak and before they release spores. You want to avoid allowing the mushrooms veiled to fully break and release the spores. This will allow for multiple flushes and avoid a dark inky staining of the mushrooms. For each mushroom block you should be able to get 2-3 flushes or harvests.
Step 9: Fresh + Dehydration
If you selected a specialty mushroom liquid culture and want to use them fresh in your favorite recipes and share the joy of home cultivation with friends and family, please tag us on Instagram so we can share your success with our community. If you decide to dehydrate them and make your own medicine follow the steps below to dehydrate and the instructions to extract and make your own medicine here.
If you selected a psilocybin strain as your liquid culture, you will want to dehydrate them immediately and keep them in an airtight container with a silica packet. The easiest way to dehydrate is to place them on a cooking sheet on top of a paper towel. Place them in a small room or bathroom, preferably one with a heat lamp and point a fan directly on the mushrooms.
Congratulations on successfully growing mushrooms!
Mush Love,
Adam
Make Your Own Medicine - Dual Extraction Guide
As more and more people discover the benefits of adding mushrooms to their daily wellness stack, understanding how to make your own medicine is an essential tool to make you more capable and resilient. To get all of the beneficial constituents from mushrooms, a “double extraction” process is the way to go. Mushrooms contain certain compounds that are water soluble, called Beta-glucans, Ergothioneine and Polysaccharide and different compounds that are alcohol(or apple cider vinegar) soluble, called Triterpenes, Sterols, Phenolics and Ergosterols. A double extraction pulls out all of the compounds and has the added benefit of resulting in a shelf stable end product.
Ingredients:
- Organic dried 100% fruiting body mushroom powder such as Lions Mane, Reishi, Shiitake, Cordyceps, Maitake, Chaga, King Trumpet or Turkey Tail.
- 80 proof or higher alcohol (we use Organic vodka)
- Filtered or Distilled Water
- Measurements: 7:1 Alcohol:Powder
Instructions:
Step 1: Fill your jar
Fill an 8oz or 16oz jar with organic dried mushroom powder. For an 8oz jar, use 1 oz of powder; for a 16oz jar use 2 oz of powder. Fill the jar with alcohol or apple cider vinegar(for those that don’t want to use alcohol), making sure it completely covers the mushrooms, but leave about a 1/2-inch space at the top of the jar. Place parchment paper between the jar and lid to prevent the alcohol from corroding the lid.
Step 2: Sit and Shake
Let the jar sit in a cabinet or dark place for 45 days. Shake daily or every other day.
Step 3: Strain and Separate
When ready, strain mushroom-infused alcohol or ACV into another jar using a cheesecloth. This is your alcohol/acv extraction. Set aside both alcohol extract and the remaining mushrooms which are called “pulp” while you prepare the next step of the double extraction.
Step 4: Water Extraction
Bring a quart or pint of distilled water to a simmer in a stock pot. Add the remaining mushroom pulp that was separated from the alcohol extract to the simmering water.
Simmer the mushrooms for about 2 hours, until the water has reduced to approximately 7-14 ounces. You will want to be left with a 1:1 alcohol to water ratio. Make sure to keep an eye on the water level, as you don’t want it to completely evaporate. You may need to add water to the stock pot throughout the process. You can also do this process in a crock pot or InstantPot on low heat for 3-4 hours. Using either will require far less water as the closed container will prevent evaporation.
Step 5: Remove from heat and let cool.
Strain the mushroom pulp again using the cheesecloth, reserving the mushroom-infused water. This is your water extract. Combine the water extract with the alcohol extract. As a reminder, however many ounces or alcohol you will want an equal amount of hot water extract.
Pro Tips:
The alcohol percentage should be somewhere between 25% and 35%, making the double extraction shelf stable.
Don’t forget to label your new mushroom double extract with the ingredients and date it was made (when the alcohol and water extracts were combined).
To maximize extraction, shake the alcohol extract jar daily if not more often.
Get a tincture bottle from amazon for daily dose use of 1-2mL/day
Congrats!!! You've made your own shelf stable double extract mushroom medicine!
Mush Love,
Adam